
JavaScript Fetch API: Complete Guide for Beginners in 2026
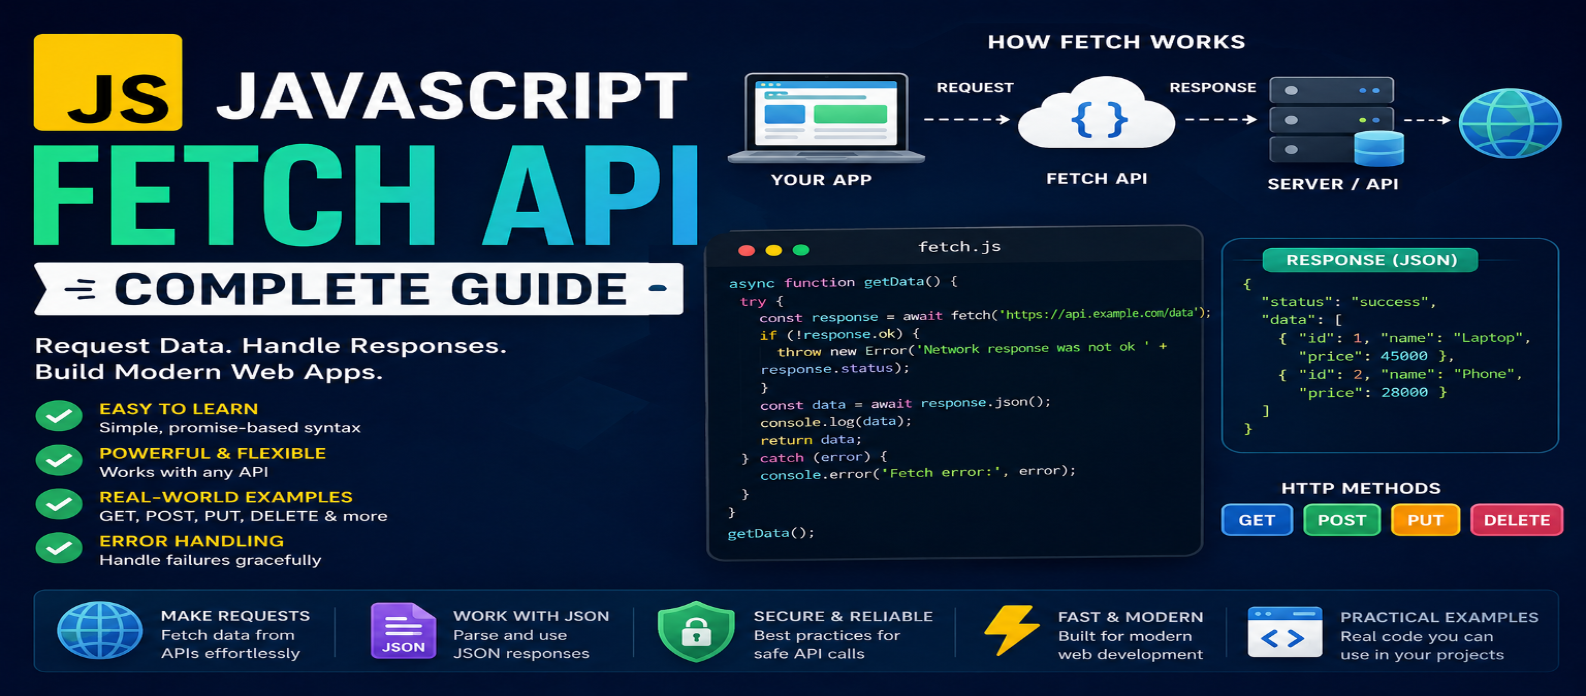
"Learn the JavaScript Fetch API with practical examples covering GET, POST, JSON, async/await, HTTP errors, headers, CORS, cancellation, security, and real-world data fetching."
JavaScript Fetch API: Complete Guide for Beginners in 2026
Modern web applications constantly exchange information with servers. A weather app retrieves forecasts, an online store loads products, a dashboard requests statistics, and a contact form sends information to a backend.
In browser-based JavaScript, one of the standard tools for making these network requests is the Fetch API.
The Fetch API provides a promise-based interface for requesting resources over the network. Once you understand fetch(), responses, JSON, async/await, HTTP methods, and error handling, you can connect frontend JavaScript to a wide range of APIs and backend services.
This guide explains the Fetch API from the fundamentals to practical patterns beginners can use.
What Is the JavaScript Fetch API?
The Fetch API is a browser API for making network requests and processing responses.
A simple request looks like this:
fetch("/api/products");Calling fetch() returns a Promise that eventually resolves to a Response object if the request reaches the response stage successfully.
A typical workflow is:
JavaScript → Send Request → Server → Response → Process Data → Update Interface
For example, a product page might request product information from an API and then display it dynamically.
Your First Fetch Request
Suppose an API provides a list of products:
fetch("/api/products")
  .then(response => response.json())
  .then(data => {
    console.log(data);
  })
  .catch(error => {
    console.error(error);
  });
Several things happen here.
fetch() starts the request.
response.json() reads the response body and parses JSON.
The next .then() receives the parsed data.
.catch() handles promise rejections such as certain network failures.
This works, but modern JavaScript often uses async/await for easier-to-read asynchronous code.
Using Fetch With async/await
The same request can be written as:
async function loadProducts() {
  try {
    const response = await fetch("/api/products");
    const data = await response.json();

    console.log(data);
  } catch (error) {
    console.error("Request failed:", error);
  }
}

loadProducts();
await pauses execution within the async function until the promise settles.
This makes asynchronous code resemble a normal sequence:
Request → Wait → Parse → Use Result
For larger applications, this can make control flow easier to understand.
Check response.ok
One of the most important Fetch API lessons is that fetch() does not automatically reject simply because the server returns an HTTP error status such as 404 or 500.
Check the response:
async function loadData() {
  const response = await fetch("/api/data");

  if (!response.ok) {
    throw new Error(
      `Request failed: ${response.status}`
    );
  }

  return response.json();
}
response.ok is true when the HTTP status falls within the successful 200–299 range.
This pattern helps distinguish HTTP errors from successful responses.
Understanding the Response Object
The Response object contains useful information about the server's response.
Examples include:
response.status
response.statusText
response.ok
response.headers
response.url
Depending on the response format, you might read its body using:
response.json()
response.text()
response.blob()
response.arrayBuffer()
response.formData()
Choose the method that matches the type of data you're receiving.
For JSON APIs, response.json() is common.
Making a GET Request
Fetch uses GET by default.
const response = await fetch("/api/users");You can also specify it explicitly:
const response = await fetch("/api/users", {
  method: "GET"
});
GET requests are commonly used to retrieve information.
For example:
GET /api/products
GET /api/users/42
GET /api/articles
Query parameters can provide additional information:
fetch("/api/products?category=laptops&page=2");For dynamic values, build query strings carefully rather than simply concatenating untrusted input.
Sending Data With POST
To submit JSON data:
async function createTask() {
  const response = await fetch("/api/tasks", {
    method: "POST",

    headers: {
      "Content-Type": "application/json"
    },

    body: JSON.stringify({
      title: "Learn Fetch API",
      completed: false
    })
  });

  if (!response.ok) {
    throw new Error("Unable to create task");
  }

  return response.json();
}
Three important pieces are involved:
Method → POST
Content-Type → application/json
Body → JSON.stringify(data)
JSON.stringify() converts a JavaScript value into JSON text suitable for this request body.
PUT, PATCH, and DELETE Requests
APIs may support additional HTTP methods.
Update Data
await fetch("/api/tasks/15", {
  method: "PATCH",
  headers: {
    "Content-Type": "application/json"
  },
  body: JSON.stringify({
    completed: true
  })
});
Delete Data
await fetch("/api/tasks/15", {
  method: "DELETE"
});
Common conventions are:
GET → Retrieve
POST → Create/Submit
PUT → Replace
PATCH → Partially Update
DELETE → Remove
However, the API you're using defines its actual behavior, so always follow its documentation.
Working With Request Headers
Headers carry additional information about a request.
For example:
const response = await fetch("/api/profile", {
  headers: {
    "Accept": "application/json"
  }
});
Authenticated APIs may require credentials or authorization information.
For example, some APIs use:
headers: {
  "Authorization": `Bearer ${token}`
}
But be careful: secret API credentials should not be embedded in frontend JavaScript if they must remain confidential.
Browser-delivered code can be inspected.
Sensitive credentials generally belong in an appropriate server-side environment.
Handling Errors Properly
A robust request should account for multiple failure scenarios.
async function getUser() {
  try {
    const response = await fetch("/api/user");

    if (!response.ok) {
      throw new Error(
        `HTTP ${response.status}`
      );
    }

    const user = await response.json();

    return user;

  } catch (error) {
    console.error("Unable to load user:", error);
  }
}
Possible failures include:
- Network problems
- Server errors
- Invalid responses
- Authentication failures
- Rate limits
- Request cancellation
- Parsing errors
Don't show users raw technical errors unnecessarily. Provide a useful interface state instead.
Loading, Success, Empty, and Error States
A common beginner mistake is focusing entirely on the request.
The user experience matters too.
A good data-driven interface considers four states:
Loading → Success → Empty → Error
For example:
status.textContent = "Loading...";

try {
  const data = await loadProducts();

  status.textContent =
    data.length ? "" : "No products found.";

} catch {
  status.textContent =
    "Unable to load products.";
}
Users should know what's happening while waiting for network operations.
Canceling a Fetch Request
Sometimes a request is no longer needed.
For example, a user might start a search and immediately type another query.
AbortController can cancel the earlier request:
const controller = new AbortController();

fetch("/api/search", {
  signal: controller.signal
});

controller.abort();
This is useful for:
- Live search
- Navigation changes
- Component cleanup
- Requests with custom timeout logic
Cancellation can prevent unnecessary work and outdated responses from affecting the interface.
Understanding CORS
You may encounter an error mentioning CORS when requesting resources from another origin.
CORS stands for Cross-Origin Resource Sharing.
Browsers apply same-origin security rules, while servers can use CORS response headers to permit certain cross-origin requests.
If an API doesn't allow your website's origin, you generally cannot solve the underlying restriction by adding random Fetch options.
The server needs an appropriate CORS configuration.
Fetch and Cookies
For certain cross-origin requests where cookies or other credentials need to be sent, configuration may involve:
fetch("https://api.example.com/account", {
  credentials: "include"
});
The server must also be configured appropriately.
Authentication and cross-origin credentials involve security considerations, so don't copy configuration blindly without understanding the backend setup.
Avoid Unnecessary API Requests
Imagine a search box making a network request after every single keystroke.
A user typing:
javascript
could trigger many requests within seconds.
A debounce strategy can wait briefly until the user stops typing before making the request.
Other useful approaches include:
Caching → Deduplication → Pagination → Lazy Loading → Request Cancellation
Efficient fetching improves performance and reduces unnecessary server traffic.
Practical Example: Load Users Into the DOM
HTML:
<ul id="users"></ul>
<p id="status"></p>
JavaScript:
const list = document.querySelector("#users");
const status = document.querySelector("#status");

async function loadUsers() {
  status.textContent = "Loading...";

  try {
    const response = await fetch("/api/users");

    if (!response.ok) {
      throw new Error(`HTTP ${response.status}`);
    }

    const users = await response.json();

    status.textContent = "";

    for (const user of users) {
      const item = document.createElement("li");
      item.textContent = user.name;
      list.append(item);
    }

  } catch {
    status.textContent = "Unable to load users.";
  }
}

loadUsers();
This demonstrates the complete workflow:
Fetch Data → Check Response → Parse JSON → Create DOM Elements → Display Result → Handle Failure
That's the foundation of many real-world JavaScript applications.
Fetch API Best Practices
Keep these principles in mind:
- Always consider
response.ok - Handle network and parsing failures
- Show useful loading and error states
- Don't expose secret credentials
- Avoid unnecessary requests
- Cancel obsolete requests when appropriate
- Safely render external data
- Follow the API's documentation
- Understand CORS instead of bypassing it
- Keep request logic organized as applications grow
The goal isn't merely to make the request work.
It's to make it reliable, secure, understandable, and useful to the user.
Fetch API Learning Roadmap
If you're a beginner, learn in this order:
Promises → async/await → JSON → GET → POST → HTTP Status Codes → Error Handling → Headers → Authentication → Cancellation
Then build something practical.
Good beginner projects include:
Weather App → Currency Converter → Product Search → Public Data Dashboard → Simple CRUD Application
Real projects make asynchronous JavaScript much easier to understand.
Conclusion
The JavaScript Fetch API connects frontend applications with servers and external data.
At its core, the pattern is straightforward:
fetch() → Check Response → Parse Data → Use Data → Handle Errors
Start with simple GET requests. Then learn POST, headers, JSON, authentication, error states, and cancellation.
Once you can confidently retrieve data and turn it into a useful interface, you've learned one of the most important skills in modern JavaScript development.
Get a Free Access To 200+ Free Tools:
|
Home |
https://webtoolscorner.com/ |
|
Calculators Tools |
https://webtoolscorner.com/category/calculators |
|
Text & Convertor Tools |
https://webtoolscorner.com/category/text-tools |
|
PDF & Image Tools |
https://webtoolscorner.com/category/pdf-tools |
|
Games & Developer Tools |
https://webtoolscorner.com/category/games-and-developer-tools |
|
Resume Builder |
https://webtoolscorner.com/resume |